

Deploying to Deno Deploy
Set up your project
- New project
- Existing Deno project
Start from the Deno template:
Secure your service with request identity validation
Deno Deploy services are public HTTP endpoints. Secure your service with request identity validation so that it only accepts requests from the Restate environment you trust.Configure the key in your Restate SDK endpoint before deploying.The public key is not secret, so it is safe to include it directly in your service source code or configuration files.
- Restate Cloud / BYOC
- Restate OSS
 Restate Cloud / BYOC
 Restate OSS
Restate Cloud and BYOC environments create and manage the request identity key for you.Copy the environment’s public key from Developers > Security > HTTP endpoints in the Restate Cloud UI.
Register the service to Restate
Once deployed on Deno Deploy EA, use Preview URLs so that Restate can target specific service versions.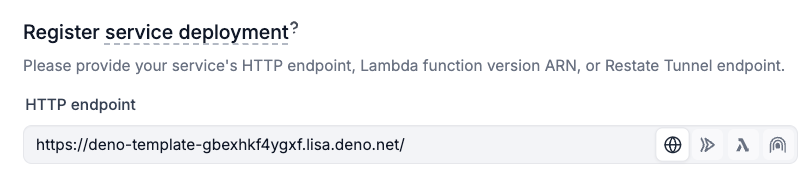
- Restate Cloud / BYOC
- Restate OSS
Register the service with Restate via the UI:
Send your first request
- Restate Cloud / BYOC
- Restate OSS
You’re set up! Go to the Overview page > Greeter > Playground and start sending requests to your service.
CI/CD Automation
You can set up automation to register new Restate service versions every time you deploy to Deno Deploy:Create the project in the Deno console before the first workflow run.
- Restate Cloud / BYOC
- Restate OSS
.github/workflows/deploy.yml
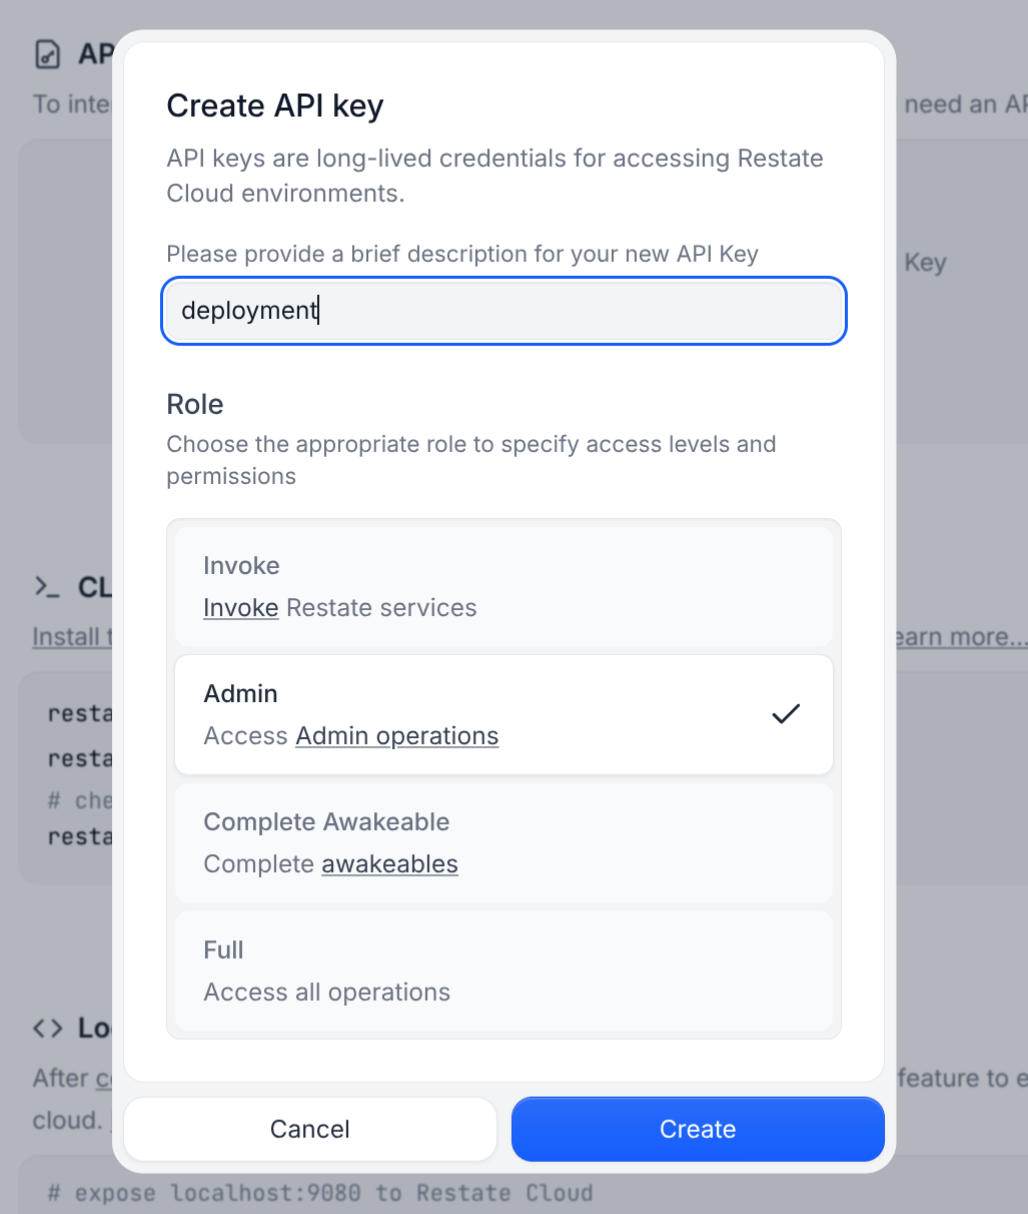
RESTATE_ADMIN_URL: The Admin URL. You can find it in Developers > Admin URLRESTATE_AUTH_TOKEN: Your Restate Cloud or BYOC auth token. To get one, go to Developers > API Keys > Create API Key, and make sure to select Admin for the roleView
Deno Deploy Classic
Deno Deploy Classic
For Deno Deploy Classic, we suggest the following CI/CD setup that deploys to Deno and then registers the deployment with Restate:Configure
RESTATE_ADMIN_URL and RESTATE_AUTH_TOKEN as described above for your Restate environment.